How to make a silicone mould with 3D printing
Silicone is expensive; the printed part is the shell that holds the silicone around the object, in the exact size.
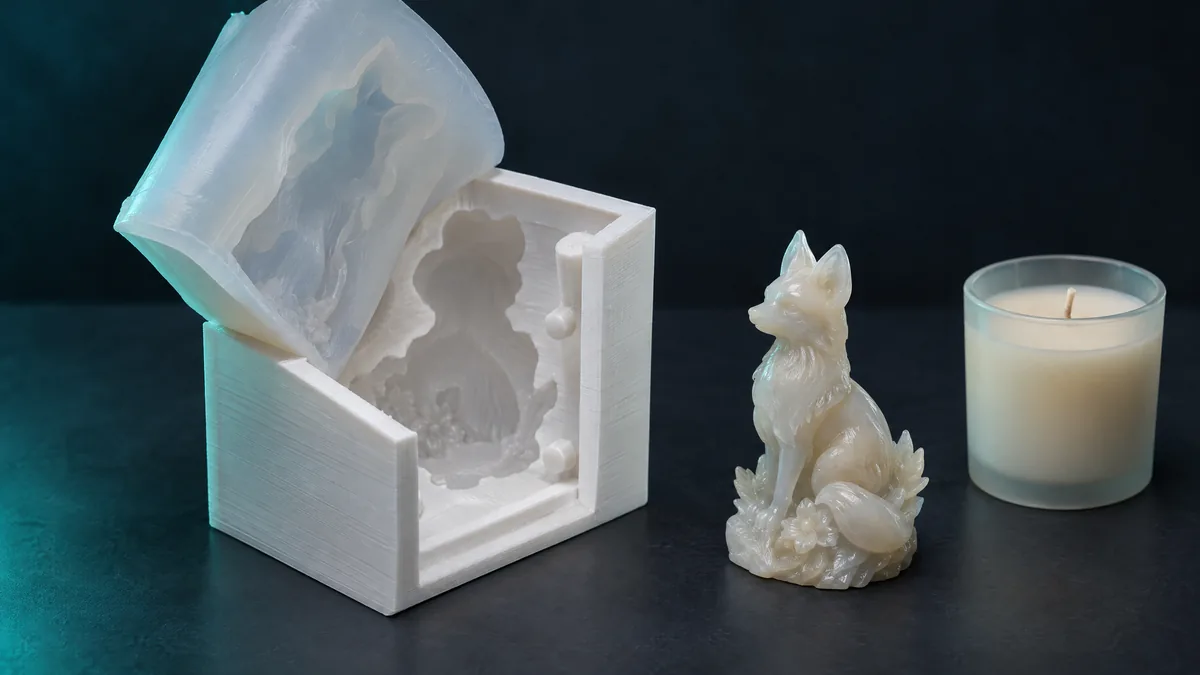
A silicone mould is how you pull ten, fifty copies of a piece in resin, plaster, wax or soap. Silicone is expensive; the printed part is the shell that holds the silicone around the object. With the generator, the shell comes out ready from your STL, in the exact size.
How the kit works
The silicone kit has two printed parts: a shell that follows the object's outline at a fixed distance, and a base the object sits on. You pour silicone over it, wait for it to cure, remove the shell and cut a zig-zag down the side of the silicone block to release the piece. The shell follows the outline on purpose: in a square box, the silicone left in the corners is money thrown away. The page shows how much you save compared with a box.
Step by step
- Open the mould generator, pick Silicone mould and upload the object (STL, OBJ, PLY; 3MF and STEP go through the converter on their own, up to 60 MB).
- Rotate until the face the material will enter through faces up.
- Set how much silicone goes around: 8 to 10 mm for a small piece, 12 to 15 mm for a big or heavily used mould. Above the object, 8 mm is enough.
- A 2.4 mm shell wall prints rigid without wasting plastic.
- Choose whether the object comes fused to the base (it cannot float or let silicone creep under) or base only, to glue a piece you already have.
- Download both parts. They come out in print position, no supports.
Which silicone
Condensation-cure silicone (the cheapest) is fine for plaster, wax and soap. For epoxy or polyurethane resin, and for many copies, addition-cure (platinum) lasts longer and does not stick. For chocolate, ice or anything edible, use food-grade platinum silicone: the printed plastic never touches the food, it is only the master.
When a rigid mould is better
If the piece has no undercuts and you will pull a few copies in wax, soap or plaster, the two-part rigid mould skips the silicone: print it, apply release agent and pour. The generator shows in red the part of the piece that would lock when opening; a lot of red means the flexible silicone handles it better.
Printing. Parting face up, 3 walls and 15% infill are enough. PETG takes more heat than PLA, which matters if what you pour is hot wax.