How to convert STEP to STL without ruining the part
STEP stores exact surfaces; STL stores triangles. Knowing what is lost on the way avoids surprises in the slicer.
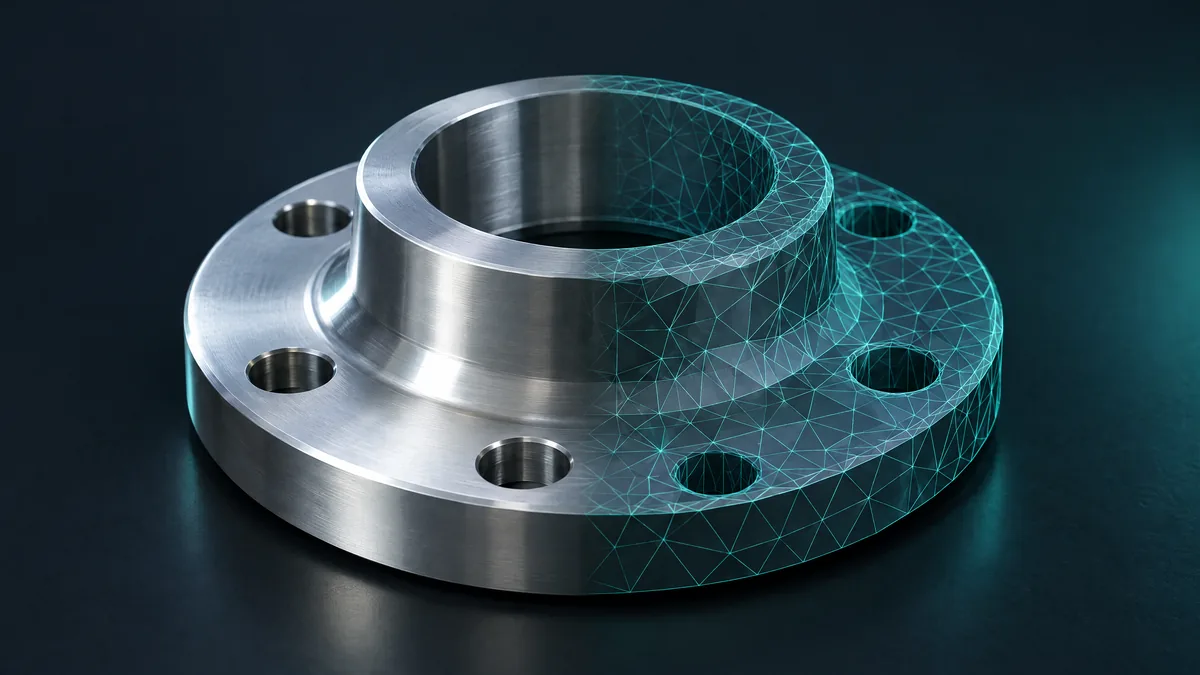
STEP is the format engineering uses to exchange parts: it comes out of SolidWorks, Fusion 360, Inventor, FreeCAD and Onshape. The slicer, however, wants STL. Converting is simple, as long as you know what changes on the way.
What changes from STEP to STL
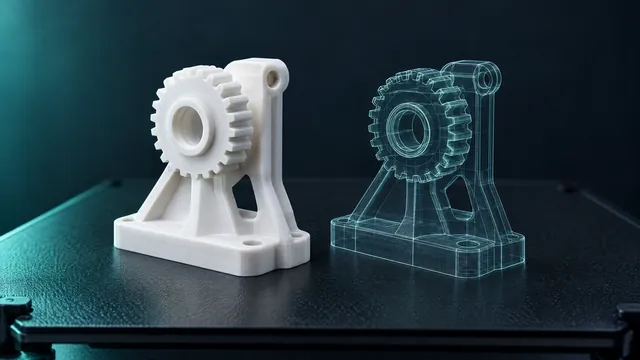
STEP stores the part as exact surfaces: a cylinder is a cylinder, with a radius and an axis. STL stores triangles only. Converting means tessellating, that is, approximating each curved surface with small flat faces.
Three things are lost, and it helps to know them beforehand:
- The exact curve. An 8 mm hole becomes a many-sided polygon. For 3D printing the difference is below the machine's resolution.
- History and dimensions. An STL cannot be edited like CAD. Keep the STEP as your original.
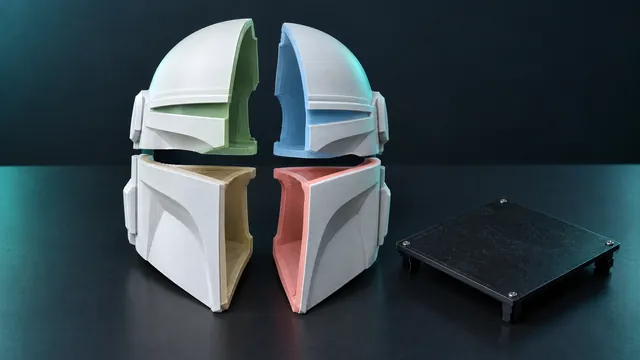
- The assembly. A set of several parts becomes a single mesh.
Why some converters fail on STEP
Reading STEP takes a geometric kernel, the same kind of engine that runs inside a CAD program. A converter built on a mesh reader trips on the file's schema (automotive_design, used by nearly every mechanical CAD) and returns an error or an empty file.
iLoveSTL uses Open CASCADE for STEP and IGES. The part is read as a solid and only then turned into a mesh.
Step by step
- In your CAD, export as STEP (
.stepor.stp), preferably AP214 or AP242. - Open the STEP to STL converter and drop the file. The limit is 250 MB.
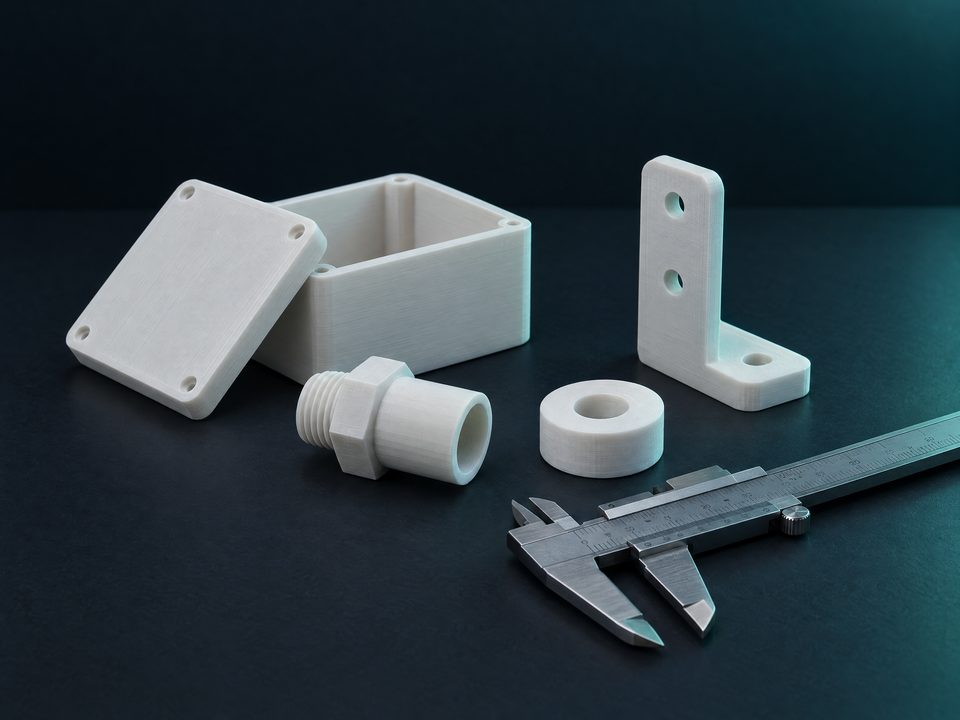
- In the preview, check the three dimensions in millimetres and the volume. If the part shows up 25.4 times smaller, the file came out in inches: resize fixes it in one click.
- Download the binary STL.
What if the mesh gets too heavy?
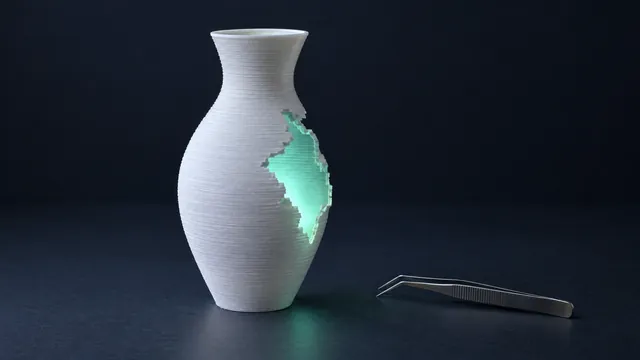
Parts with a lot of curved surface can produce hundreds of thousands of triangles. Above 300 thousand, the converter optimises the mesh and shows how many polygons went in and how many came out. If you still want a lighter file, the result panel has a control to reduce it, with the preview to check the shape held up.
Tip. If you have access to the CAD, exporting the STL there gives you fine control over tolerance. The converter is for when you only received the STEP, or do not want to open the program.